
In this article, I will create a flow in which AI performs the following tasks: detects the language, translates it to English, summarizes the text in an image, conducts sentiment analysis, and records the results in Excel.
Step-by-Step Guides
Create custom prompt
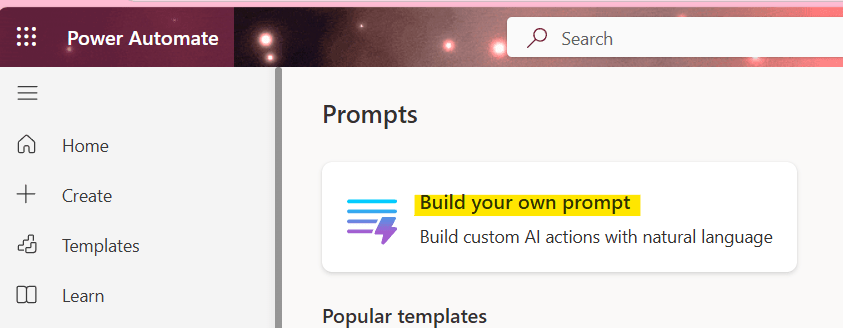
Go to AI prompts in Power Automate and click ‘Build your own prompt’
Click ‘Add’ and select ‘Image or document (preview)’ because I’ll use trigger ‘When a file is created or modified (properties only)’ so the input should be image or document.

Click ‘Ok’

Name the input variable and build the prompt by combining the text and the variable. For example, if your input variable is “image”, then click ‘Add input’ button.

You can create a prompt like:
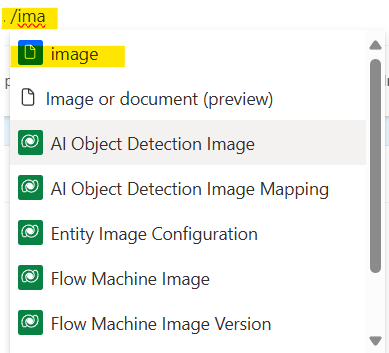
Extract the relevant data from the upload {image}If you want to add a variable, type / followed by the variable name and select it.
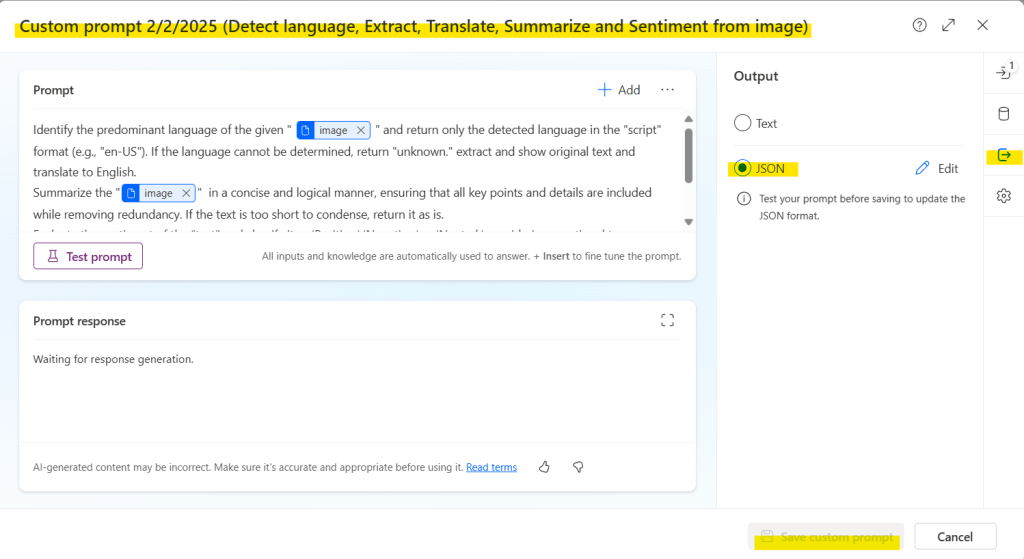
Final prompt will be look like the below image and code block

 Identify the predominant language of the given {image} and return only the detected language in the "script" format (e.g., "en-US"). If the language cannot be determined, return "unknown." extract and show original text and translate to English.
Summarize the {image} in a concise and logical manner, ensuring that all key points and details are included while removing redundancy. If the text is too short to condense, return it as is.
Evaluate the sentiment of the "text" and classify it as 'Positive,' 'Negative,' or 'Neutral,' considering emotional tone, language cues, and context. If the sentiment is mixed, identify the most dominant emotion. The response must be one capitalized word with no additional explanation.
Rename custom prompt as needed, change output to ‘JSON’ and press save custom prompt.
Create SharePoint Library
Create SharePoint Library in SharePoint site and create Excel file.

Prepare Excel Table
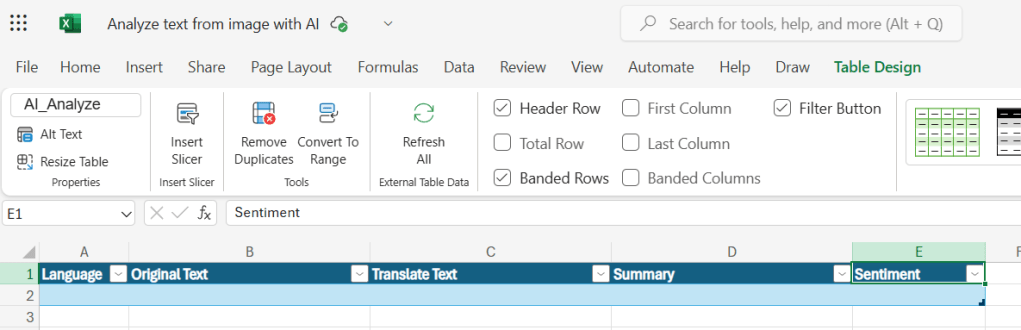
Create a table with the following columns: Language, Original Text, Translate Text, Summary, Sentiment
Create Cloud Flow
Select trigger ‘When a file is created (properties only)’
- Select ‘Site Address’ (Your SharePointSite)
- Select ‘Library Name’ (Your SharePoint Library)

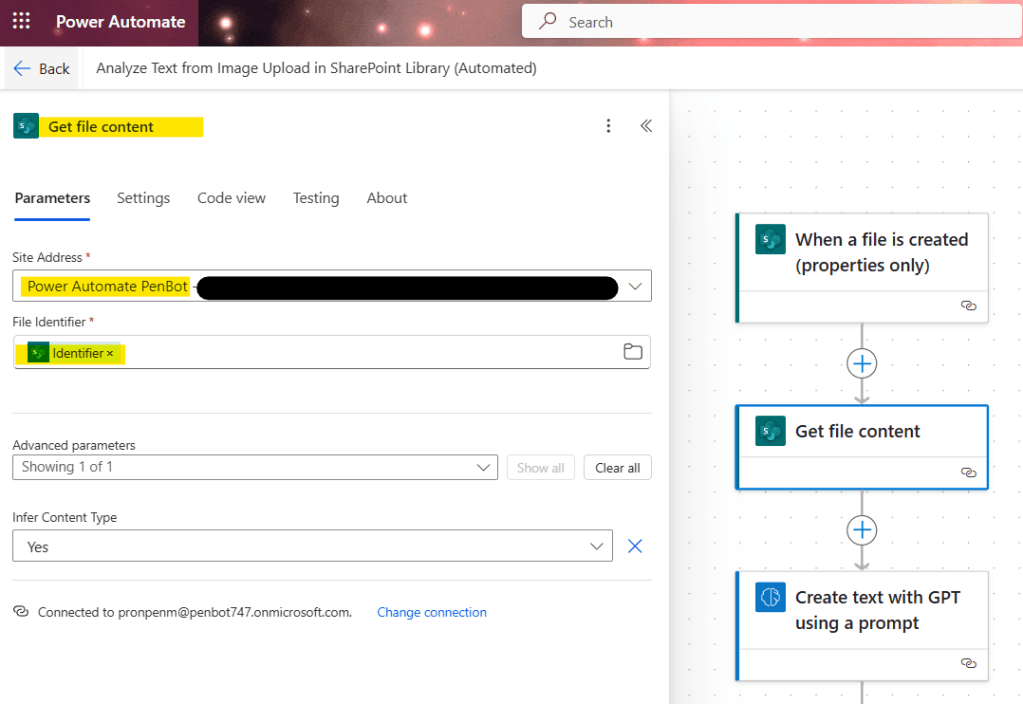
Select action ‘Get file content’
- Select ‘Site Address’ (Your SharePointSite)
- Insert ‘File Identifier’ (Dynamic content ‘Identifier’ from the previous trigger)
Select action ‘Create text with GPT using a prompt’
- Select ‘Prompt’ (Your custom prompt)
- Insert ‘Image’ (Dynamic content ‘File content’ from ‘Get file content’ action)

Select action ‘Add a row into a table’
- Select ‘Location’ where the Excel file exists
- Select ‘Document Library’ (Folder)
- Select ‘File’ (Excel File)
- Select ‘Table’ (Excel table)
- Insert ‘script’ in ‘Language’ column
- Insert ‘original_text’ in ‘Original Text’ column
- Insert ‘translated_text’ in ‘Translate Text’ column
- Insert ‘summary’ in ‘Summary’ column
- Insert ‘sentiment’ in ‘Sentiment’ column

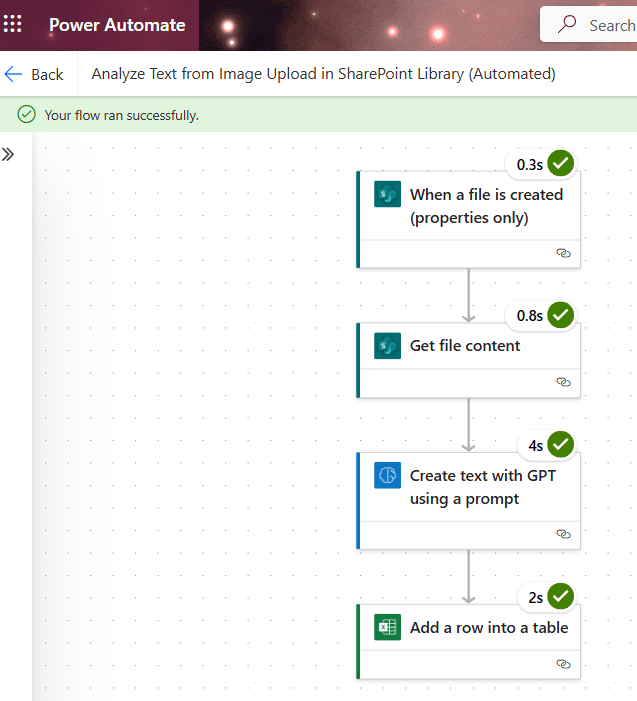
Test the flow
Run flow and upload file in SharePoint Library.


Credit image from https://wshippers.wordpress.com/2013/12/31/pics-trans-tvxqs-message-in-naver-music/

Leave a comment