
The For each loop using for iterates through a list or data table and stores the current item in a variable.
What is List?
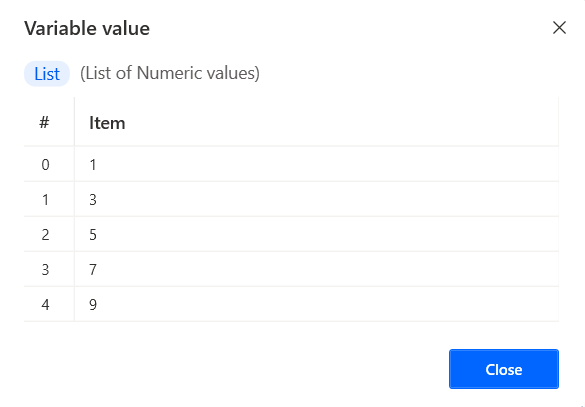
Lists are collections of items. It can be lists of text values, lists of numerical values, and so on. The list data type is the equivalent of a single-dimension array in programming terms.
3 Ways to create list
We can create a list through various action as follow:
- Create new list action & Add item to list action
- Set variable action
- Create a list through actions that generate lists as output e.g. Read text from file action, Get files in folder action
1. Create new list action & Add item to list action
We can create a list through the Create new list action and add an item to that list through the Add item to list action.

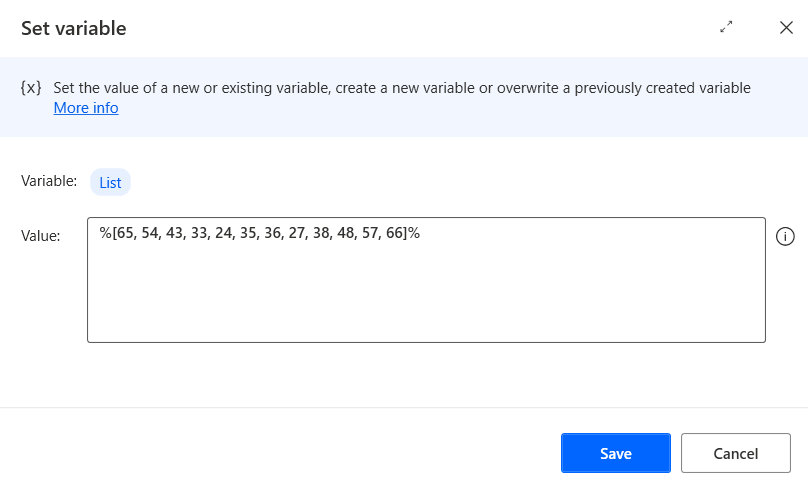
2. Set variable action
We can create a list through the Set variable action. Each item of list is separated by commas and enclosed in square brackets. The percentage sign is used as a special character to denote variables.

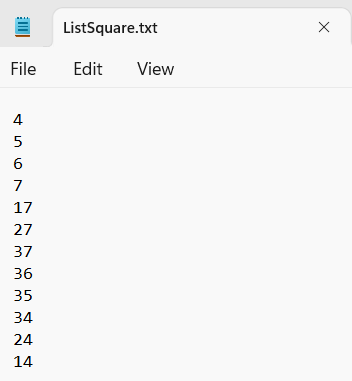
3. Create a list through actions that generate lists as output
In this article, I’ll use Read text from file action and set store content as “List (each is a list item)”

For Each Loop
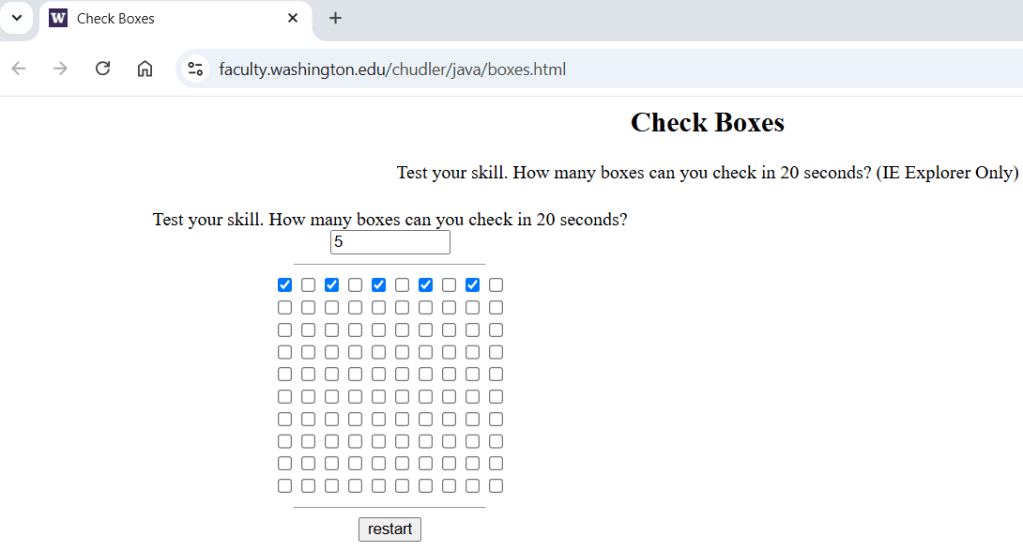
In this article, I’ll use below website for show the result of for each loop https://faculty.washington.edu/chudler/java/boxes.html
This website is a game for click check box in 20 seconds. Each box has a different ordinal number as per below red text from 1 to 100.

1. For each with List from Create new list action & Add item to list action
Add Launch new chrome action, For Each action and Click link on web page action as per below image
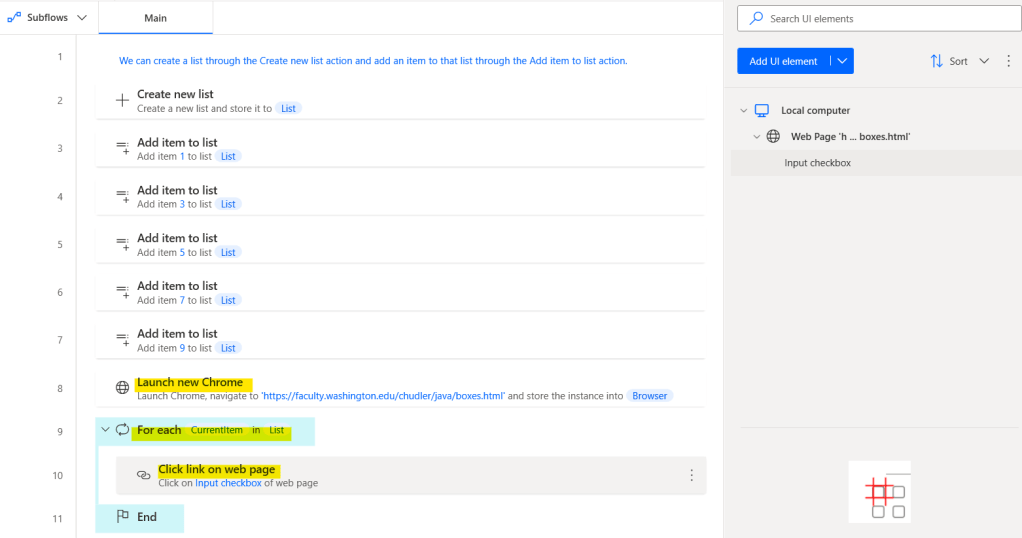
Go to UI elements tab, double click the element of the check box the new window will appear as per below image.
After that open the toggle of “Text editor”, then select CurrentItem variable

You can copy the source code here
Run the flow, and the result on the website will be displayed as shown in the image below.
2. For Each with List from Set variable action
Do the same as previous flow
- Add Launch new chrome action, For Each action and Click link on web page action as per below image
- Go to UI elements tab, double click the element of the check box the new window will appear as per below image.
- After that open the toggle of “Text editor”, then select CurrentItem variable

You can copy the source code here
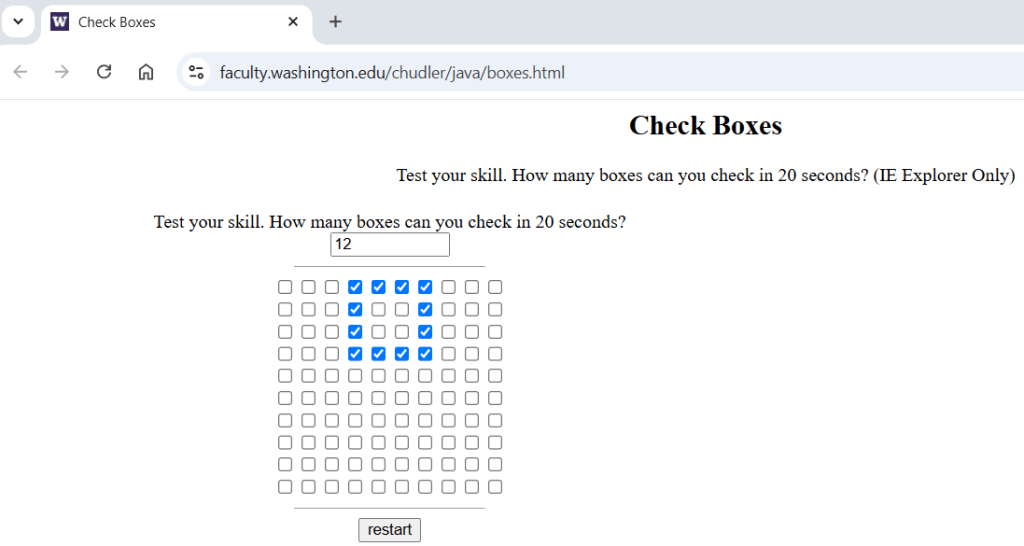
Run the flow, and the result on the website will be displayed as shown in the image below.

3. For Each with List from Create a list through “Read text from file” action
Do the same as previous flow
- Add Launch new chrome action, For Each action and Click link on web page action as per below image
- Go to UI elements tab, double click the element of the check box the new window will appear as per below image.
- After that open the toggle of “Text editor”, then select CurrentItem variable

You can copy the source code here and download text file here
Run the flow, and the result on the website will be displayed as shown in the image below.
Hope this article will be useful to the people who just starting to study Power Automate Desktop, if you have any questions about this article, you can comment and ask section below.
Don’t forget to press like, share, subscribe for good articles from now on (press the subscribe button and you will receive a mail confirming your subscription to confirm again as well).
Until we meet again, Happy Automating!! 😁

Leave a comment