
When it comes to adding data to a SharePoint list from Excel, there are several methods to choose from, each with its own advantages and disadvantages. In this article, we will compare three popular methods: copying and pasting directly, using Power Automate Cloud, and using Power Automate Desktop. We’ll evaluate them based on skill level required, time consumption, and overall efficiency.
In this article, I use Excel dataset with 20 data rows + 1 header

1. Copy and paste directly
Skill Level: No code required.
Time Consumption: Less time-consuming for small datasets.
Preparation: Create SharePoint List and column header
1.1 Create SharePoint List

1.2 Create column as per column name in Excel, then press “Edit in grid view”
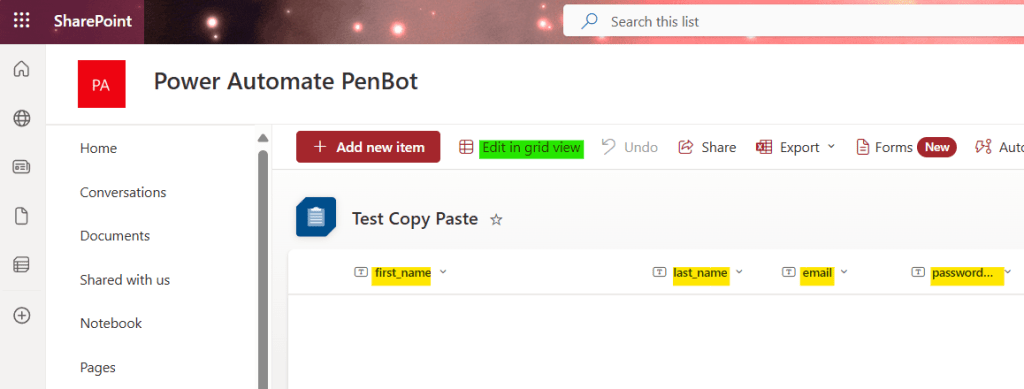
1.3 Press “Add new item”

1.4 Copy data from Excel (exlude column header)
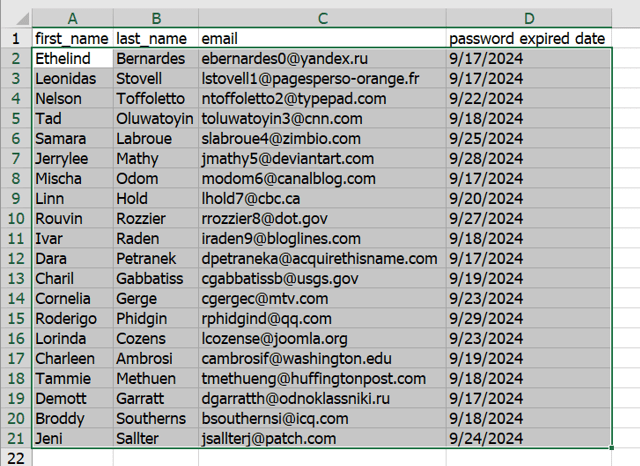
1.5 Select all row
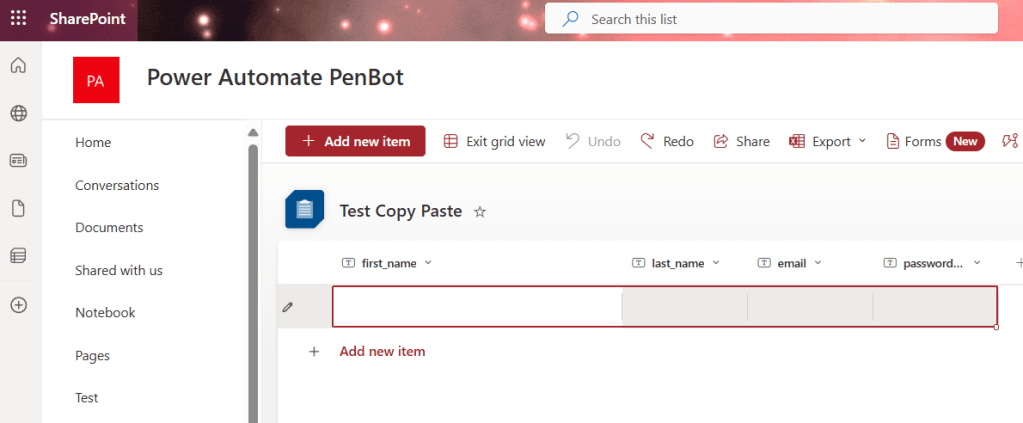
1.6 Press Ctrl+v, then “Exit Grid view”

2. Power Automate Desktop – Screen Recording
Skill Level: Low code required.
Time Consumption: More time-consuming.
Preparation: Create SharePoint List and column header
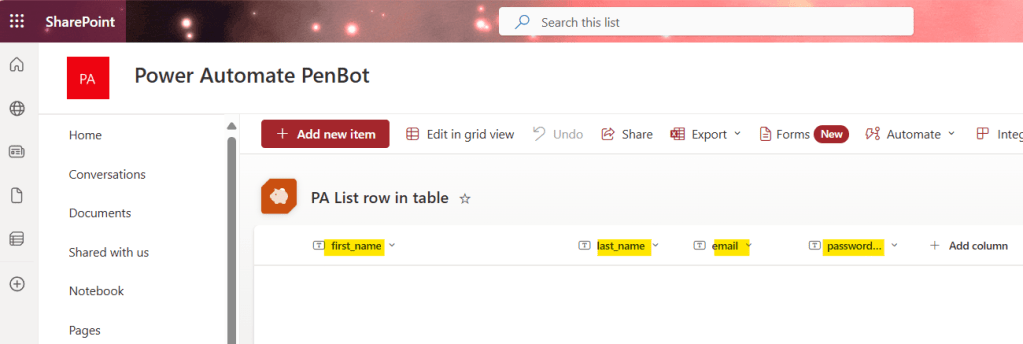
2.1 Create SharePoint and Add column in SharePoint List
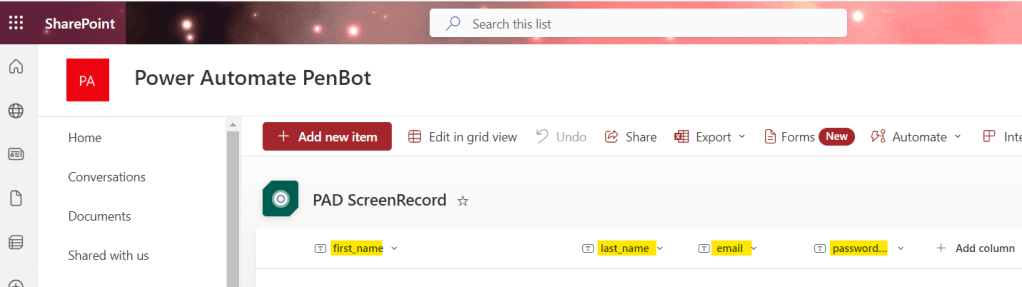
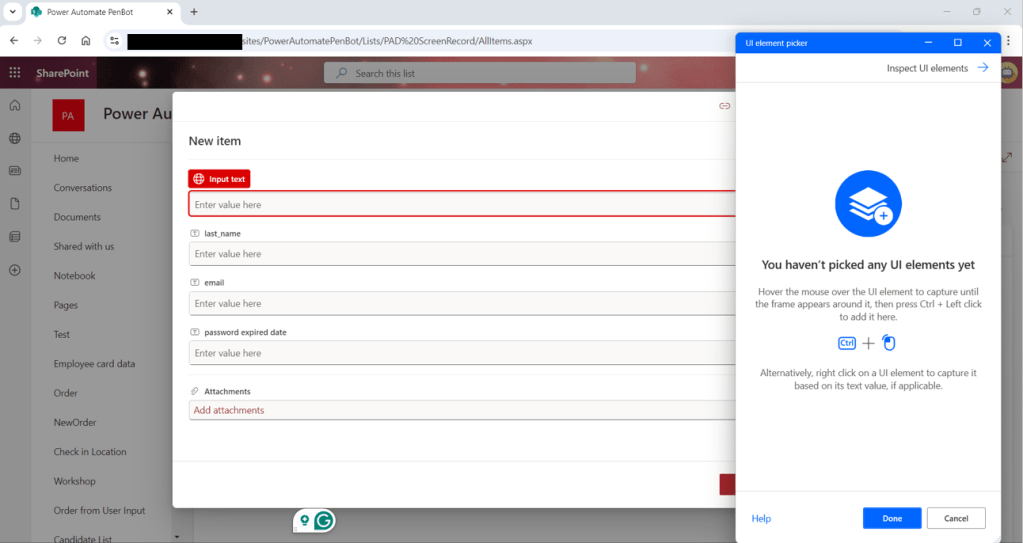
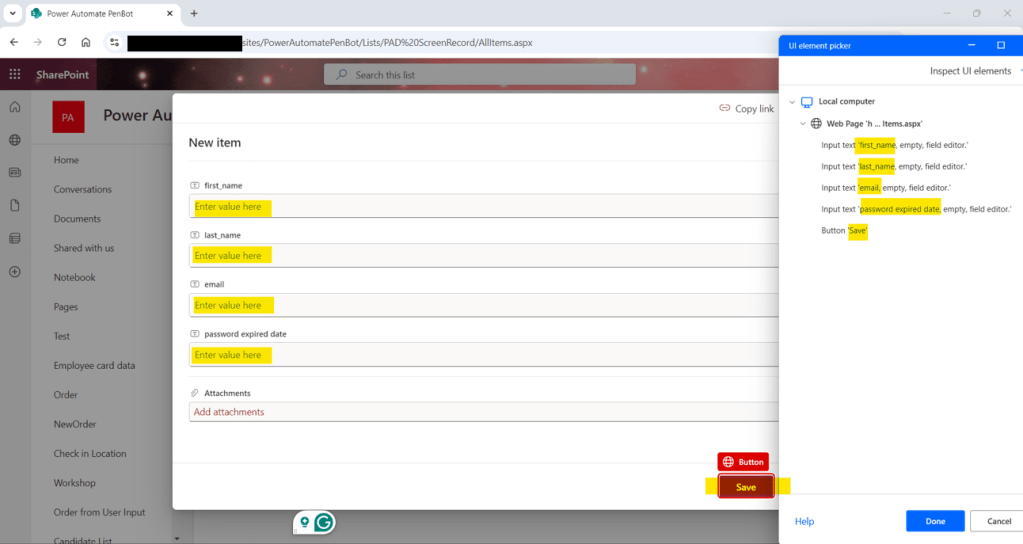
2.2 Record screen click “Add new item”

2.3 Record text input of each field in SharePoint

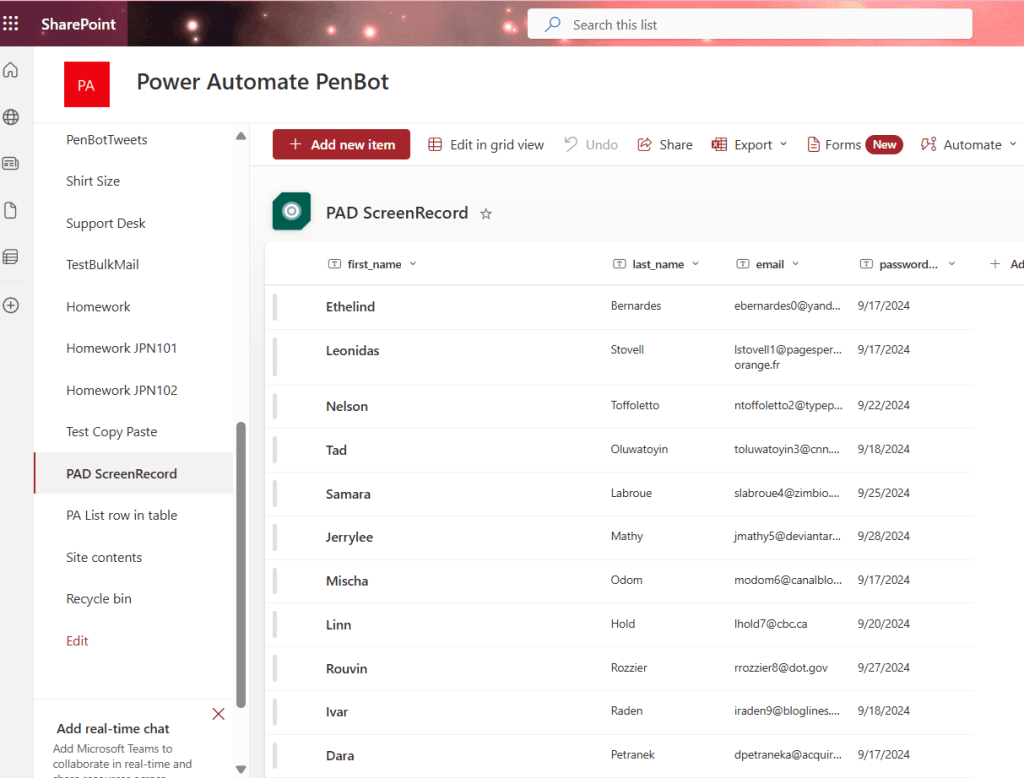
2.4 Run desktop flow
3. Power Automate Cloud – List
Skill Level: No code required.
Time Consumption: Less time-consuming.
Preparation: Create SharePoint List and column header, Upload Excel to cloud and make it as data table
3.1 Create SharePoint and Add column in SharePoint List
3.2 Upload your Excel file to cloud

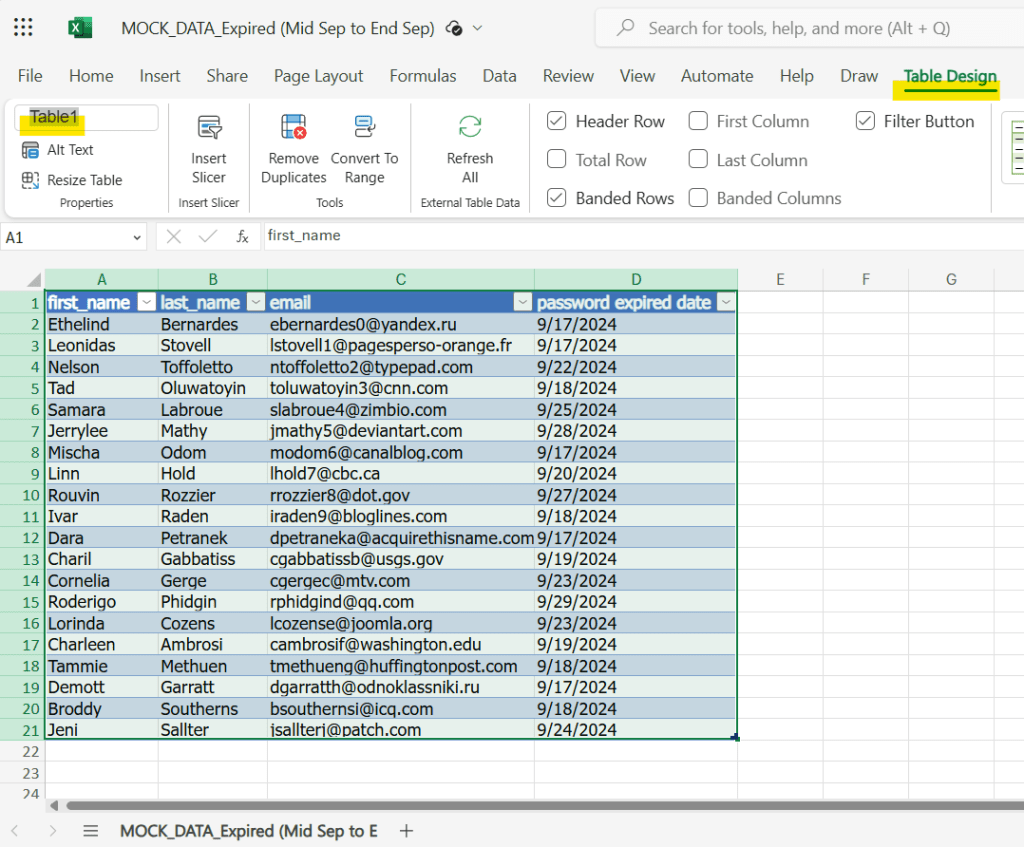
3.3 Open Excel on cloud and insert table
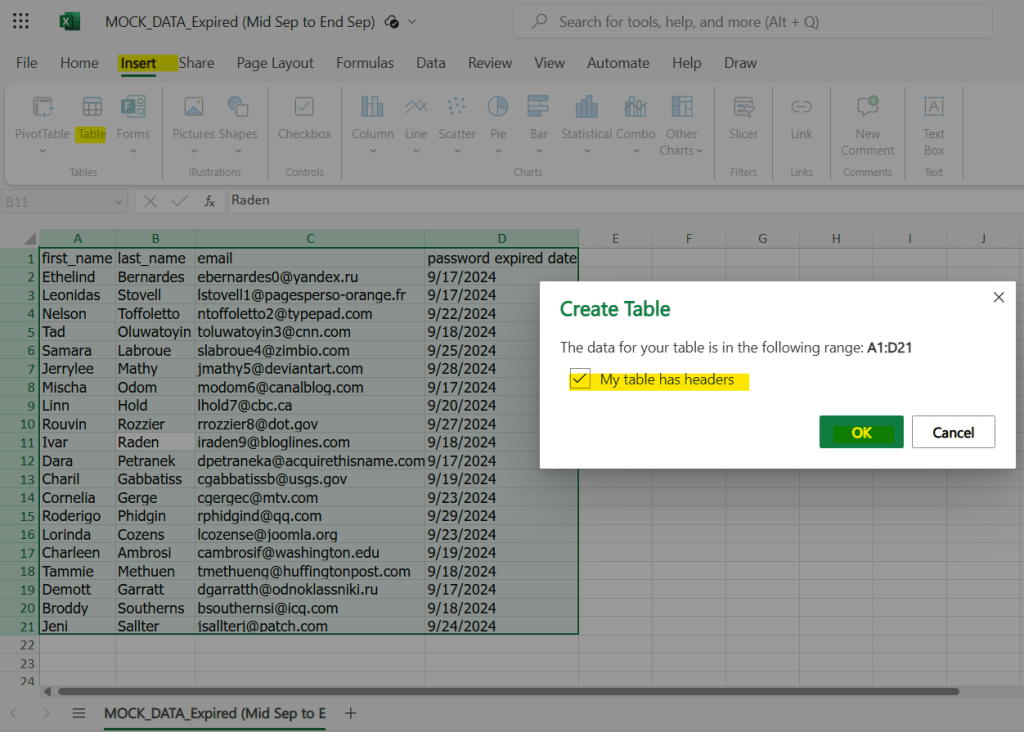
3.4 You can rename the table’s name, or keep the default name automatically assigned by Excel.
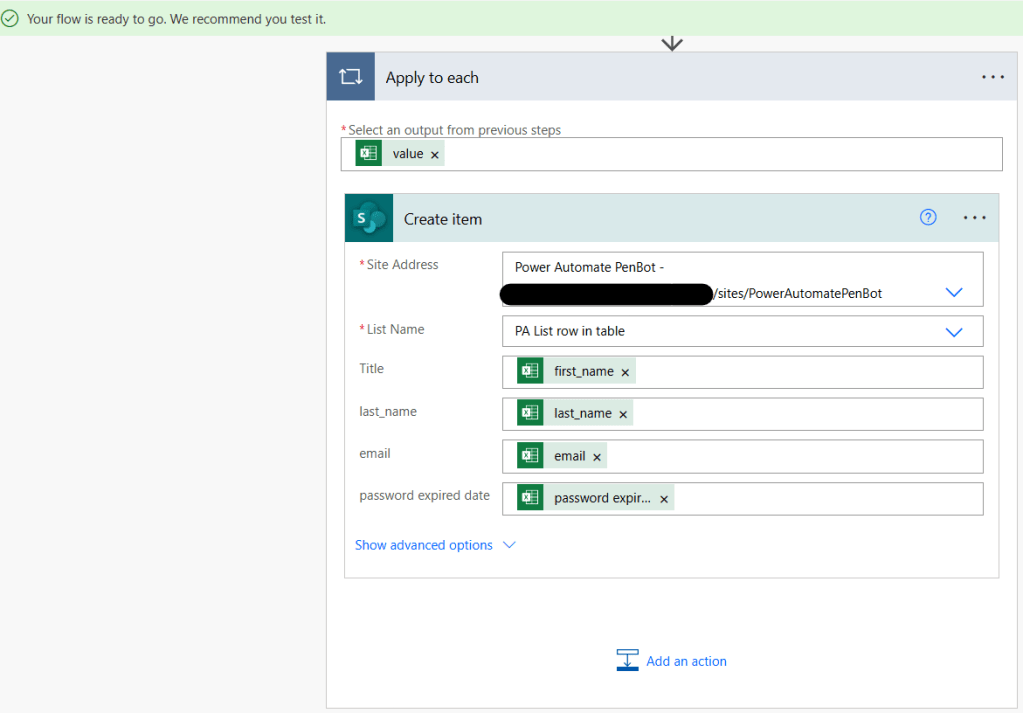
3.5 Create cloud flow

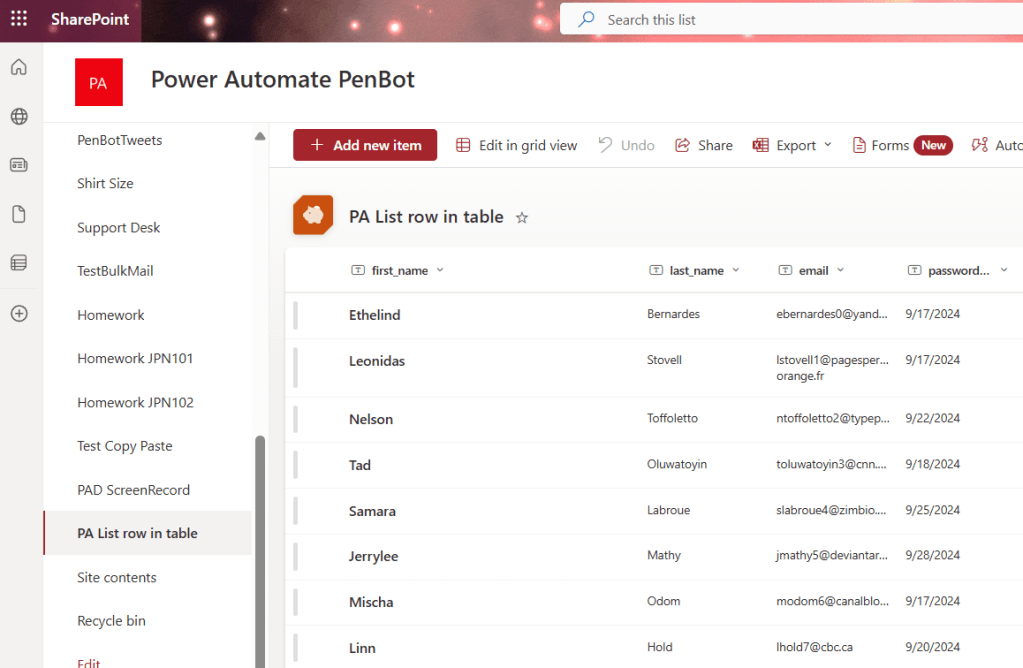
3.6 Run cloud flow
Each method has its strengths and is suitable for different scenarios. For quick, simple tasks, copying and pasting directly is the easiest and fastest approach.
Power Automate Cloud offers a good balance of automation and ease of use, making it ideal for frequent and large-scale data imports.
Power Automate Desktop, while more complex, provides the highest level of control and flexibility, making it suitable for specialized tasks that require desktop interactions. The choice depends on the complexity of the task, the skill level of the user, and the frequency of the data imports.

Leave a comment