
Register LINE Notify
First of all, you have to register LINE Notify account.
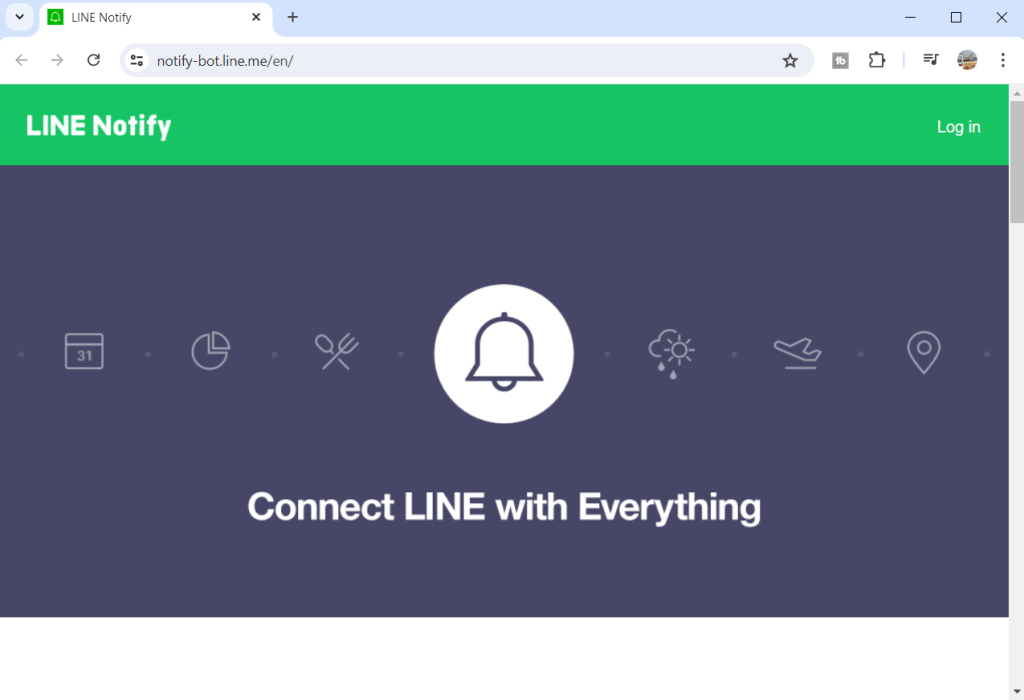
Press Log in at the top right corner of homepage, then enter your email address and password and press log in.

Click your name at the top right corner of homepage and click “My page”

Press “Generate token”

Enter a token name and select a chat to send notifications to (you can use 1-on-1 chat with LINE Notify for test the flow)

Then press “Generate token”

Then copy your token

Create Flow
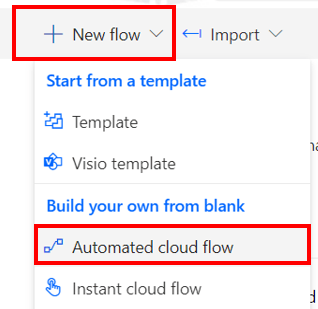
Go to https://make.powerautomate.com/ Click “New flow” > “Automated cloud flow”
Name the flow and select trigger “When a new email arrives”.

Set condition for email trigger as per your requirements. for this article I use Subject filter as “test line”

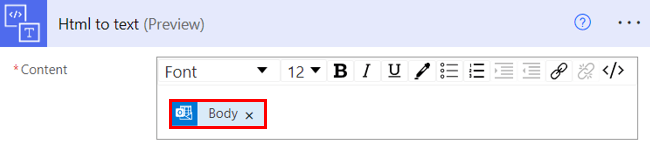
Add “Html to text” action and select dynamic content “Body” from the previous trigger.
Add “Initialize variable” action name it as “token”, type “String”, and paste the token that you got from generate token.

Add “HTTP” action and set value as per below image:
- Method: POST
- URI: https://notify-api.line.me/api/notify
- Headers key 1: Content-Type
- Headers value 1 : application/x-www-form-urlencoded
- Headers key 2: Authorization
- Headers value 2: Bearer @{variables(‘token’)}
- Body: message=@{body(‘Html_to_text’)}

Test flow
Send mail

See result in LINE

Hope this article will be useful to the people who just starting to study Power Automate Cloud, if you have any questions about this article, you can comment and ask section below.
Don’t forget to press like, share, subscribe for good articles from now on (press the subscribe button and you will receive a mail confirming your subscription to confirm again as well).
Until we meet again, Happy Automating!! 😁

Leave a comment