
You have two options to get started with Power Apps: either follow my article and create your own, or simply purchase the finished apps directly on gumroad.
Create User Interface Screen
In this article, we will see how to create a popup message in Power Apps.
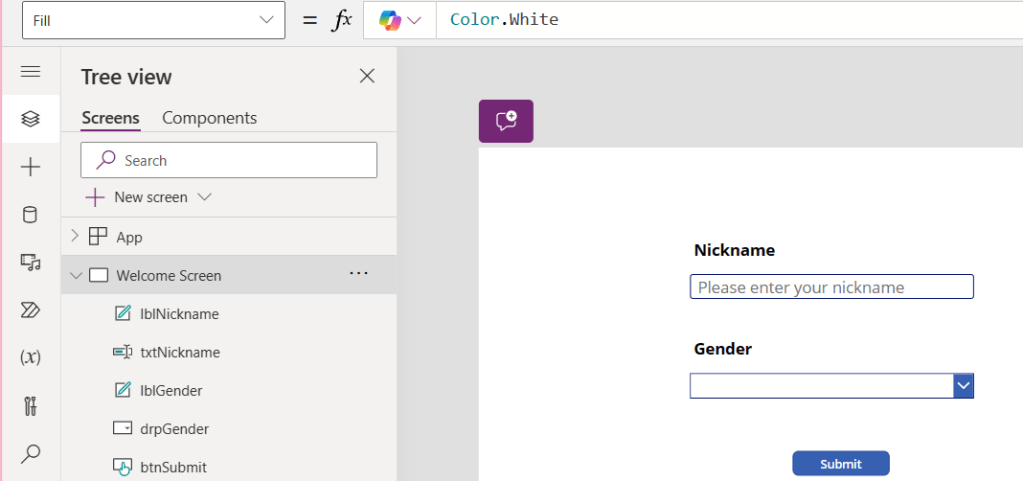
First of all, we will create the screen with some control in Power apps as follow:
| Control Type | Name | Properties | Value |
| Text Label | lblNickname | Text properties | “Nickname” |
| Text Input | txtNickname | HintText properties | “Please enter your nickname” |
| Text Label | lblGender | Text properties | “Gender” |
| Drop down | drpGender | Items properties | [“”,”Male”,”Female”,”Genderqueer”] |
| Button | btnSubmit | Text properties | “Submit” |
Users will input their nickname and gender in txtNickname and drpGender then hit the submit button.
Then, You will get the screen like this.
Create Components for Popup Message
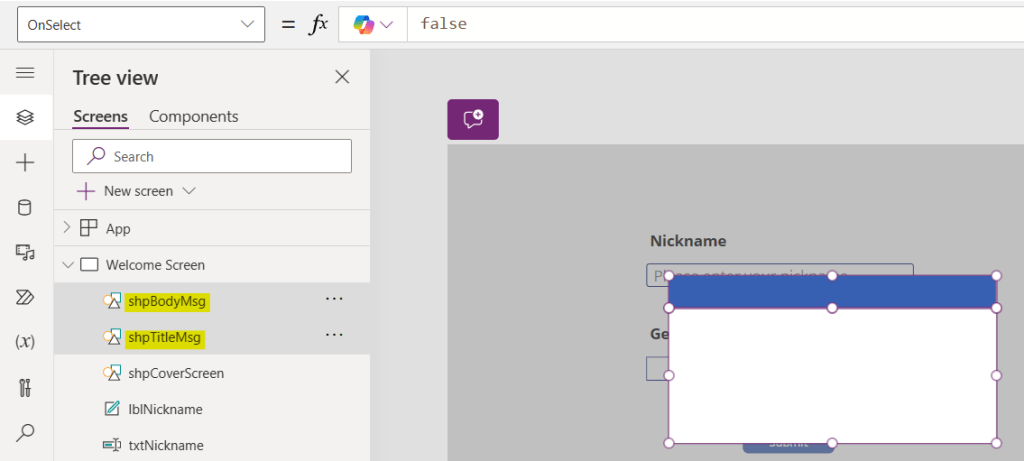
Rectangle
- Rectangle for cover the screen name as shpCoverScreen
- Width properties = Parent.Width
- Height properties = Parent.Height
- Fill properties = RGBA(128, 128, 128, 0.5)

2. Rectangle for title bar of message box name as shpTitleMsg
3. Rectangle for body of message box name as shpBodyMsg
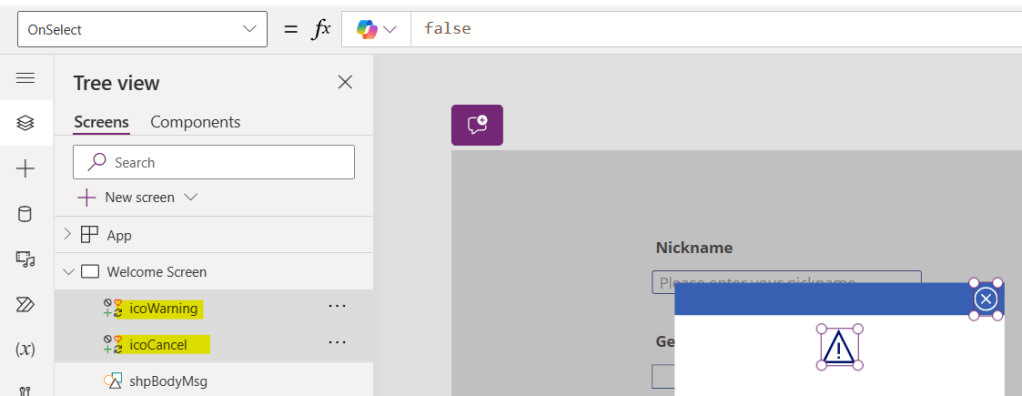
Icon
- Cancel (Badge) for close message box name as icoCancel
2. Warning for decorate body message
Button and Label
| Control Type | Name | Properties | Value |
| Text Label | lblBodyMsgReview | Text properties | see below code block |
| Text Label | lblWarning | Text properties | “Warning” |
| Button | btnConfirmSubmit | Text properties | “Yes” |
| Button | btnCancelSubmit | Text properties | “No” |
Code for message review (lblBodyMsgReview)
"Your nickname is " & txtNickname.Text & Char(13) & "Gender is " & drpGender.SelectedText.Value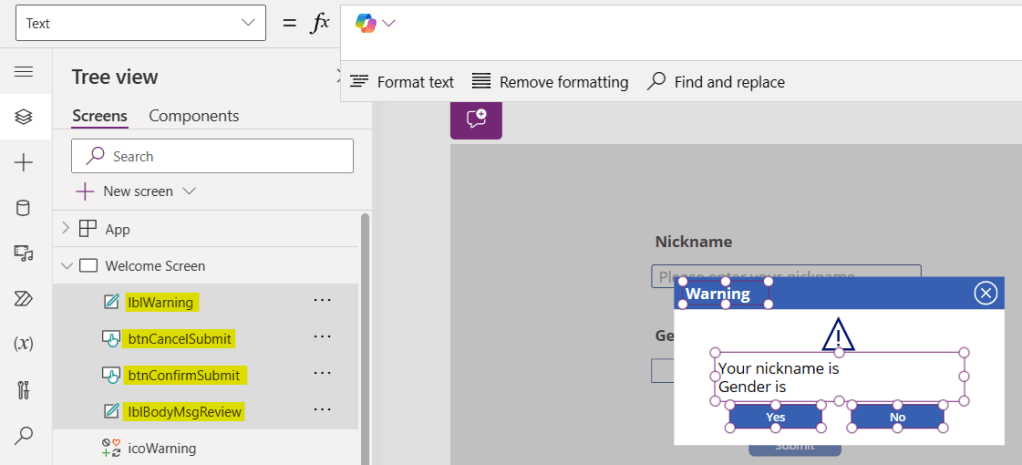
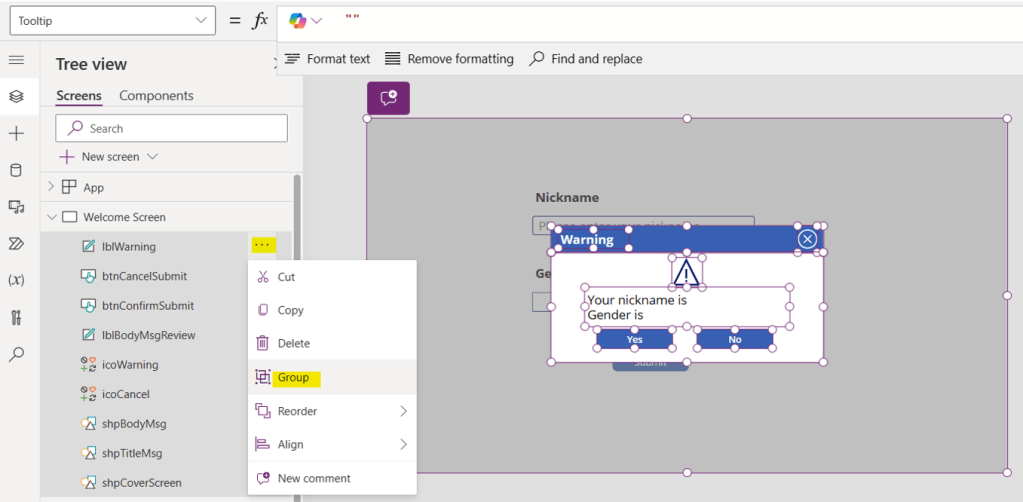
Group Components for Popup Message
Select all components for popup message (include the rectangle which cover the screen), click three dot and group as per below image.
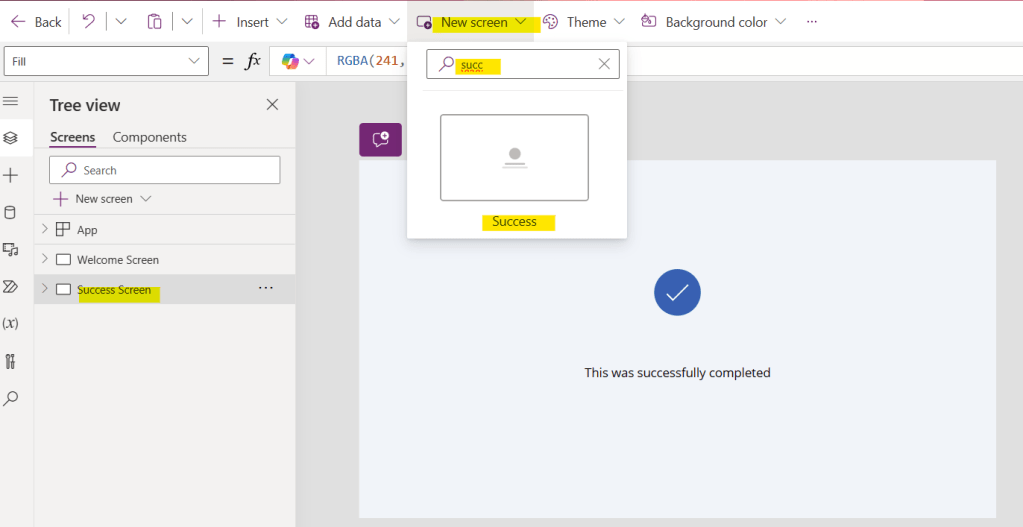
Create New Screen
Create new screen, click New screen and search “Success” name the screen as “Success Screen”
Add formula in components
- Submit button (btnSubmit)
Set OnSelect properties:
Set(varShowPopup, true);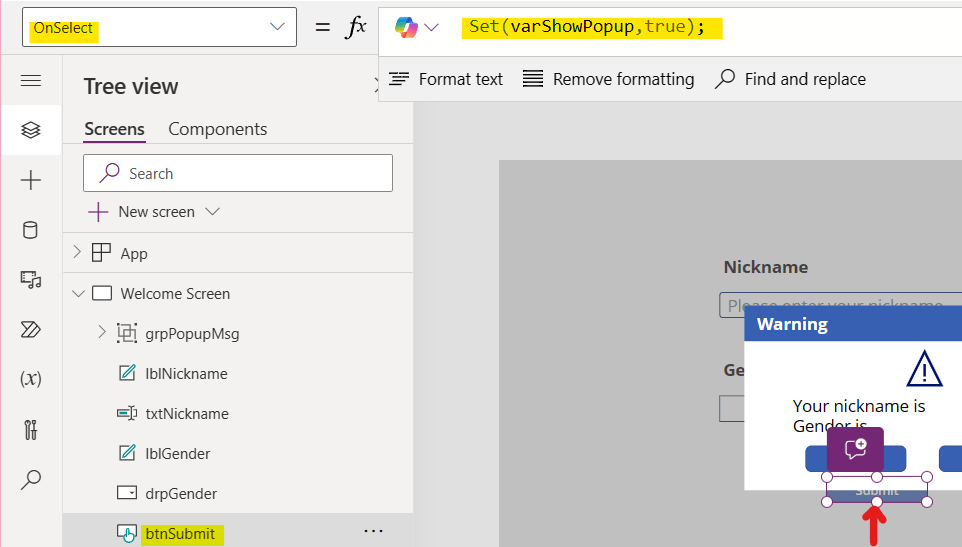
2. Group of popup message (grpPopupMsg)
Set Visible properties:
varShowPopup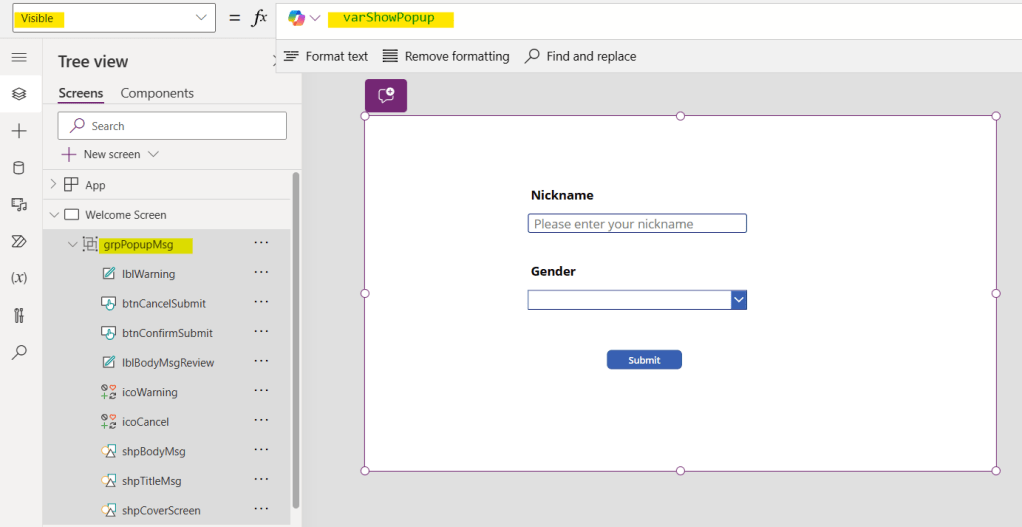
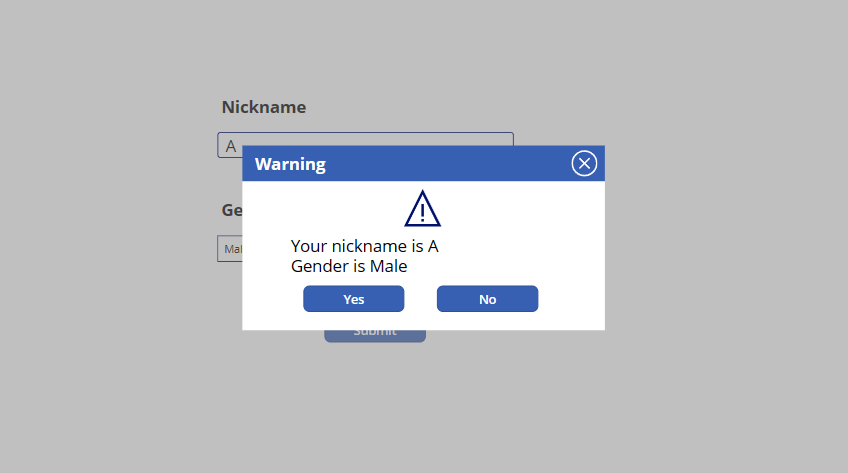
Then, click preview the apps (F5), input data and click Submit button
Popup message will appear as per image and we can add formular in their remain buttons.
3. Cancel (Badge) for close popup message (icoCancel)
Set OnSelect properties:
Set(varShowPopup, false);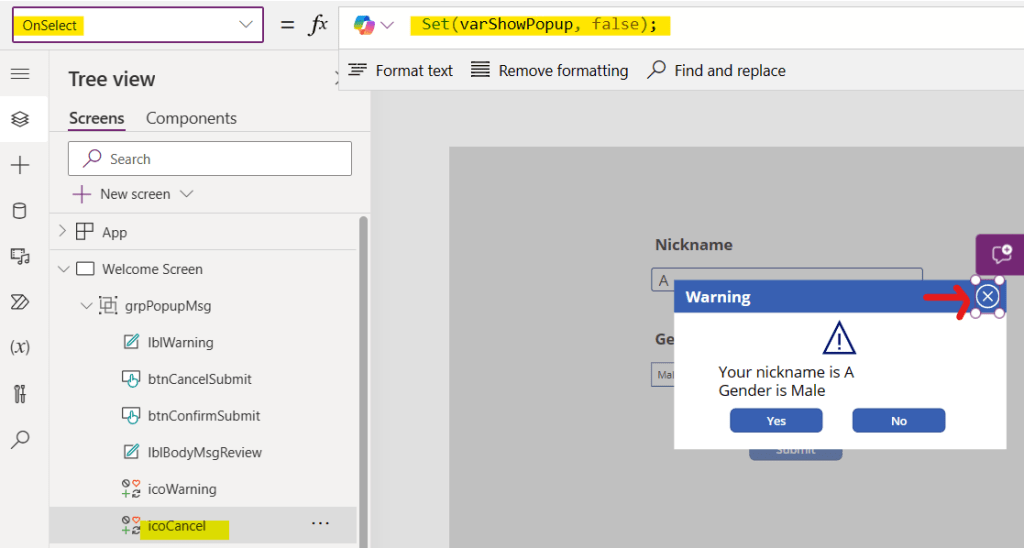
4. No button (btnCancelSubmit) use the same formular as cancel badge
Set OnSelect properties:
Set(varShowPopup, false);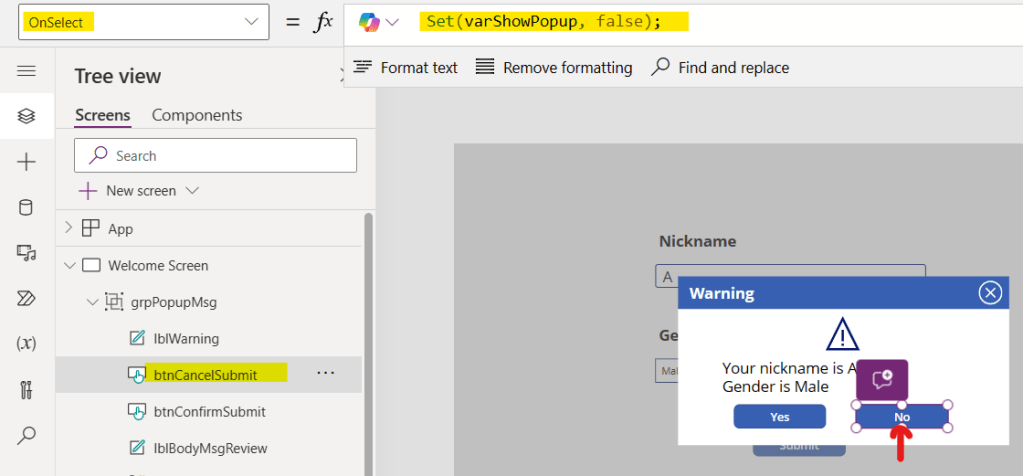
5. Yes button (btnConfirmSubmit)
I write 2 ways for your case study
5.1 Submit to collection
Set OnSelect properties:
Collect(
    colCustomer,
    {
        Nickname: txtNickname.Text,
        Gender: drpGender.Selected.Value
    }
);
Reset(txtNickname);
Reset(drpGender);
Set(varShowPopup,false);
Navigate('Success Screen')
5.2 Submit to SharePoint
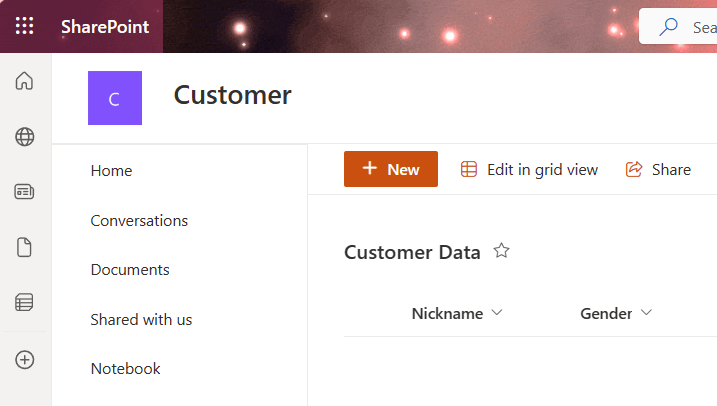
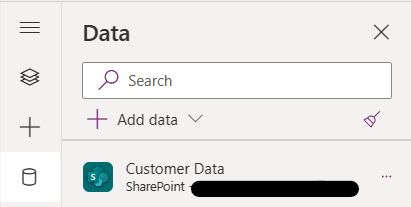
Create SharePoint Site name as “Customer”, then create SharePoint List name as “Customer Data”
Add column as follow:
- Nickname (Single line of text)
- Gender (Single line of text)
We will use patch function to submit data from power apps control text input (txtNickname) and drop down (drpGender)
You can refer from Matthew’sblog
After create SharePoint, connect SharePoint to Power Apps
add formula in Yes button (btnConfirmSubmit)
Set OnSelect properties:
Patch(
    'Customer Data',
    Defaults('Customer Data'),
    {
        Nickname: txtNickname.Text,
        Gender: drpGender.Selected.Value
    }
);
Reset(txtNickname);
Reset(txtNickname);
Set(
    varShowPopup,
    false
);Navigate('Success Screen');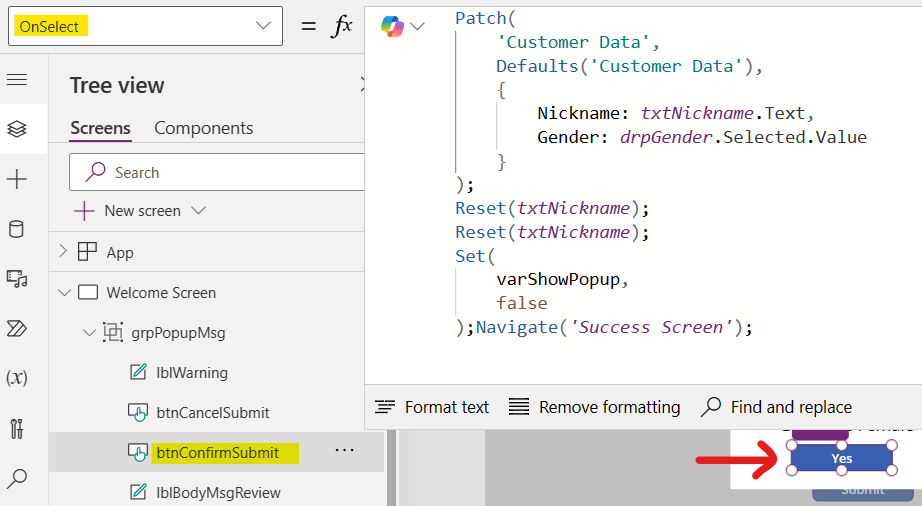
Note for whom it may buy the apps from Gumroad
The apps in Gumroad contain only submit data to collection only.
There for if you want to submit data to SharePoint you have to create SharePoint Site, SharePoint List and connect it to the apps.

Leave a comment