You can copy code of this article from my github and paste it in the Power Automate Desktop’s workspace
This article will talk about various actions in Browser Automation of Power Automate Desktop such as populate text field on web page, get details of element on web page
Before create this flow, make sure that you had already installed the Power Automate Extensions for working on the Browser. If you haven’t installed it read the installation guide here
Create Desktop Flow
Name the flow name “Google Weather” and press create button

Actions in Browser Automation
There are many actions in Browser Automation, it can group as web data extraction, web form filling and others.

Launch new Chrome
parameter of “Launch new Chrome” has 2 types
- Launch new Instance: Open new window of Google Chrome
- Attach to running instance: Active specific window by title/URL/foreground


For this article set the parameter as per below:
- Launch mode: Select Launch new Instance
- Initial URL: http://www.google.com then press save

Open website that you want robot to work with. In this case I use http://www.google.com

Populate text field on web page
- Web browser instance: Select the Browser variable from the dropdown.
- UI element: Press Add UI element
- Text: Type bangkok weather, then press Save button

Move mouse to the element that we want robot to work with. In this case is the Google search bar.
The red frame will appear on the element that we move mouse to, then press Ctrl on the keyboard and press left click on the mouse.
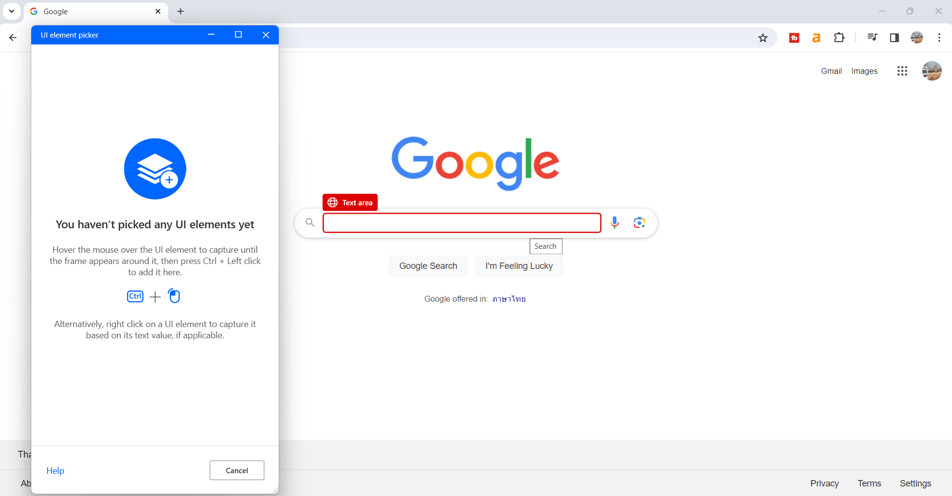
We will get the UI element as per below:

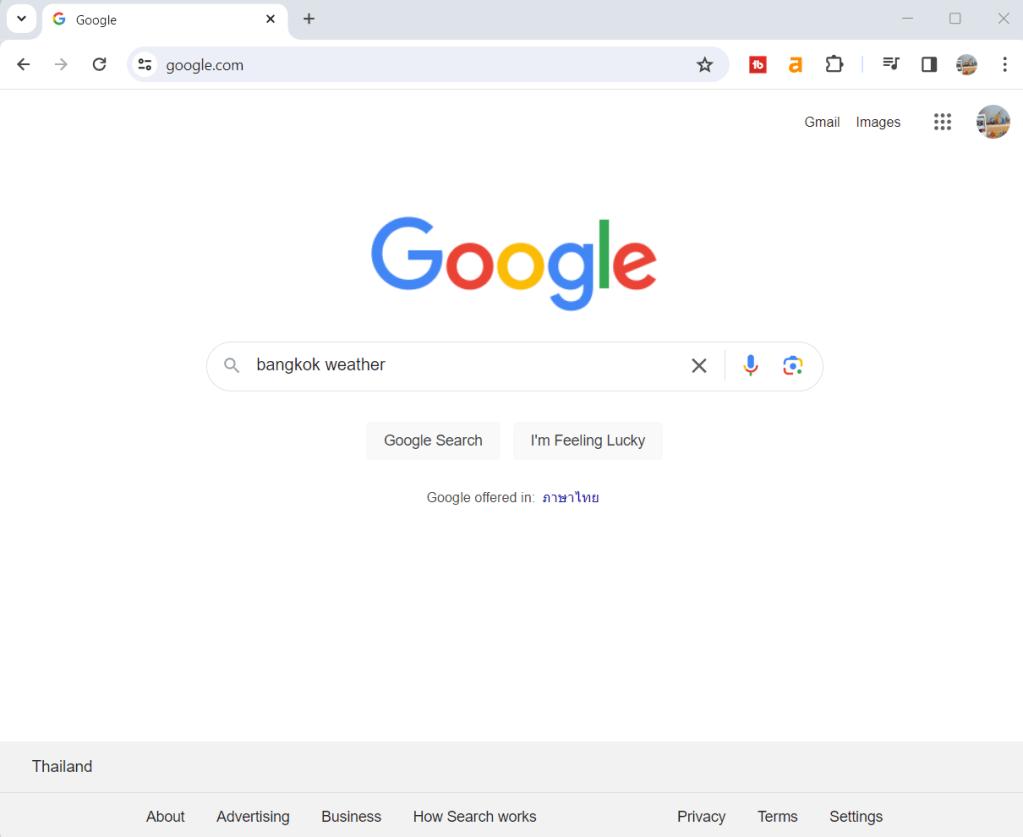
Type “bangkok weather” at text parameter

If you want to encrypted (hide the text), you can click dropdown at the text parameter and choose “Direct encrypted text input” (Click here for see image)

We will mimick the robot work process by go to the http://www.google.com and type “bangkok weather”
Press button on web page
- Web browser instance: Select the Browser variable from the dropdown.
- UI element: Press Add UI element

Move mouse to the element that we want robot to work with. In this case is the Google search button.
The red frame will appear on the element that we move mouse to, then press Ctrl on the keyboard and press left click on the mouse as same as the previous step.
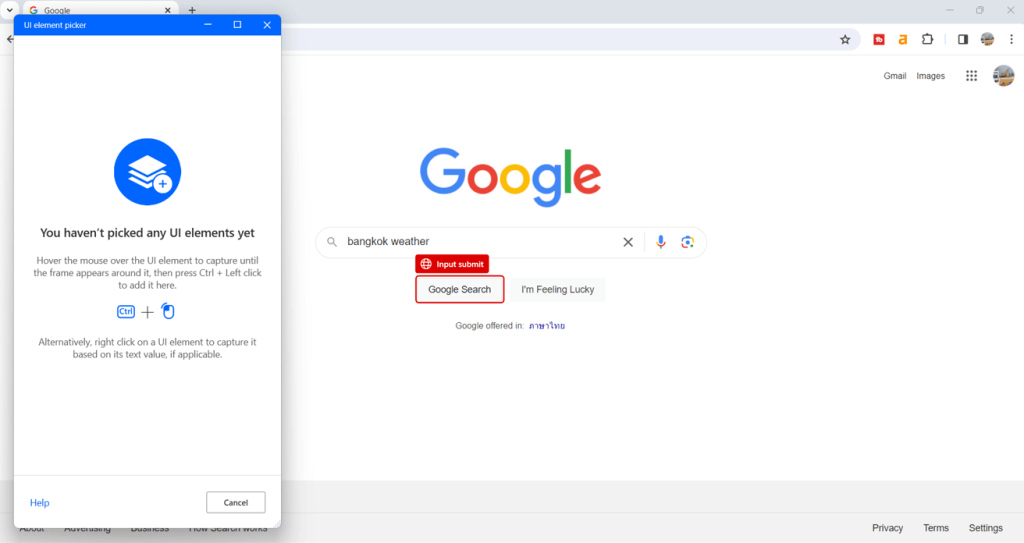
We will get the UI element as per below picture, then press save button.

We will mimick the robot work process by press “Google Search” button.

Then we will get the search results as per below picture:

Get details of element on web page
- Web browser instance: Select the Browser variable from the dropdown.
- UI element: Press Add UI element
Click dropdown at parameter “UI element”. In this action we will capture the temperature result in Google search result.

Move mouse to the temperature.
The red frame will appear on the element that we move mouse to, then press Ctrl on the keyboard and press left click on the mouse.
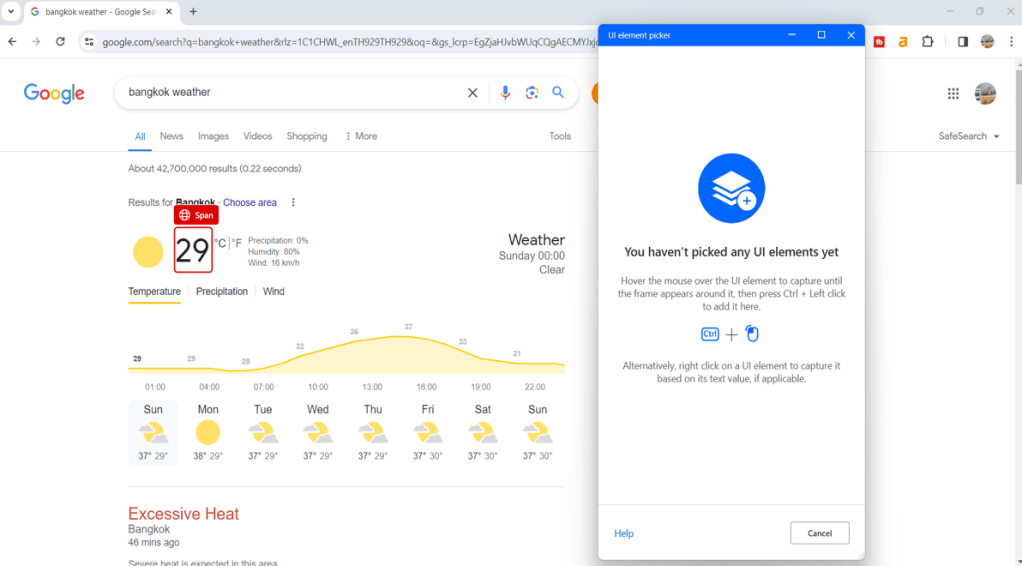
We will get the UI element as per below picture store in “AttributeValue” variable, then press save button.

Display message
Drag action “Display message” and drop to Power Automate Desktop’s workspace
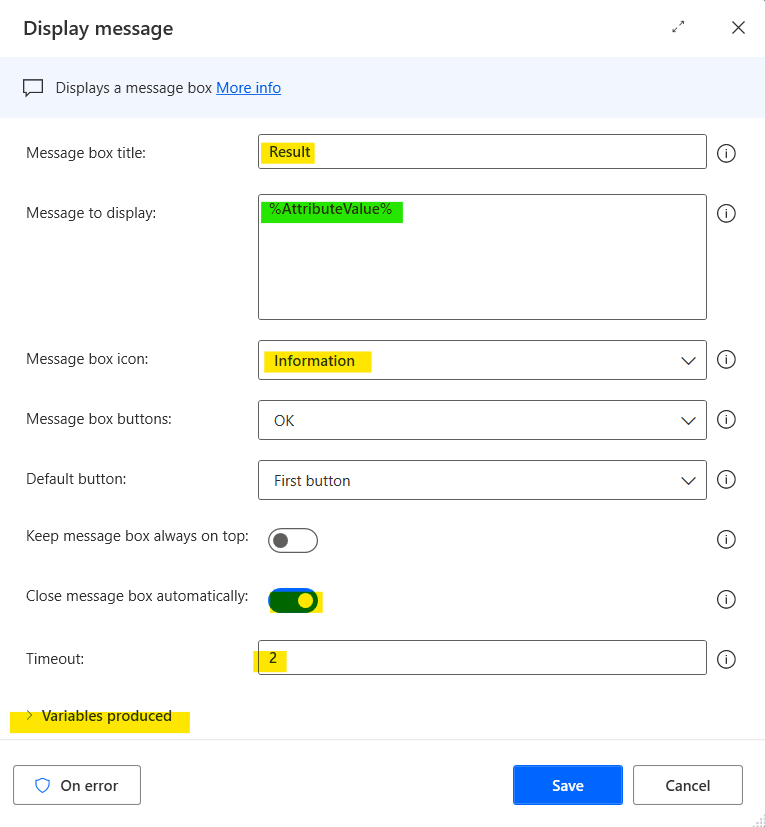
- Message box title: Type text “Result“
- Message to display: Select variable %AttributeValue%
- Message box icon: Choose dropdown “Information” (Optional)
- Close message box automatically: toggle on (Optional)
- Variable produced: disable (Optional)
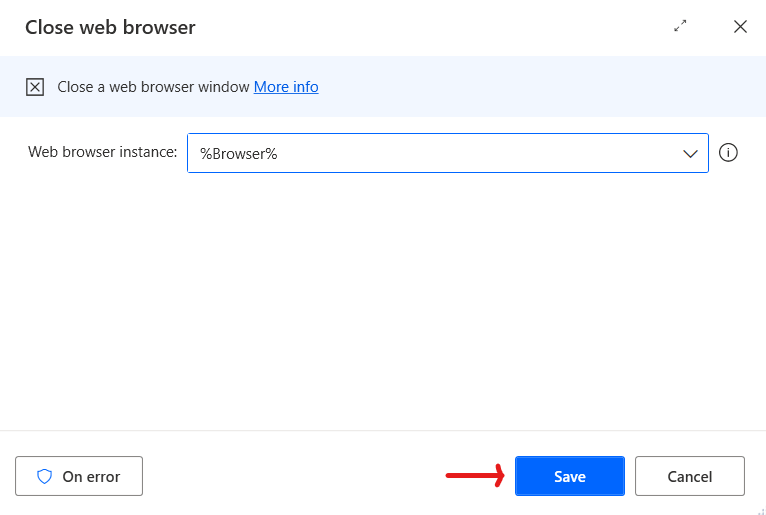
Close Browser
Drag action “Close Browser” and drop to Power Automate Desktop’s workspace for close the website
Completed Flow
Press save button and press run button

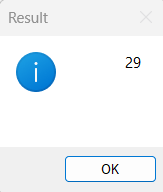
Example of Result
If you press run button, the message box will show title and body as our setting in display message action

Hope this article will be useful to the people who just starting to study Power Automate Desktop, if you have any questions about this article, you can comment and ask section below.
Don’t forget to press like, share, subscribe for good articles from now on (press the subscribe button and you will receive a mail confirming your subscription to confirm again as well).
Until we meet again, Happy Automating!! 😁

Leave a comment