
If you want Power Automate Desktop to work with various browsers such as Google Chrome, Microsoft Edge, you must install the Extensions first.
To do this, open Power Automate Desktop to check the version. Click Help in the Console window, and then click About.

How to install extensions on Google Chrome
- Go to 3 dots > Extensions > Manage Extensions

2. Click Chrome Web Store

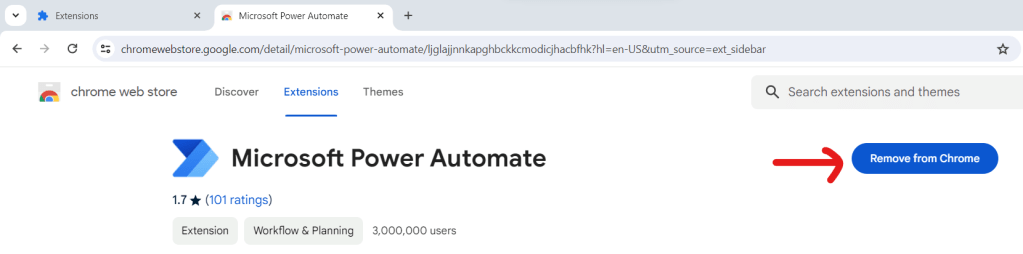
3. In the Search bar, type “power automate” and look at the results. You will find two extensions with the same logo as Power Automate Desktop and tell you which desktop version they are suitable for.
- Microsoft Power Automate used with Power Automate Desktop version 2.27 or later. (This is the newer one)
- Microsoft Power Automate (Legacy) used with Power Automate Desktop version 2.26 or earlier. (This is the older one)

4. Choose Extensions that are suitable for the version you have. Then press the “Add to Chrome” button (for those who have already installed it, it will be show as “Remove from Chrome”, so you don’t have to press it).
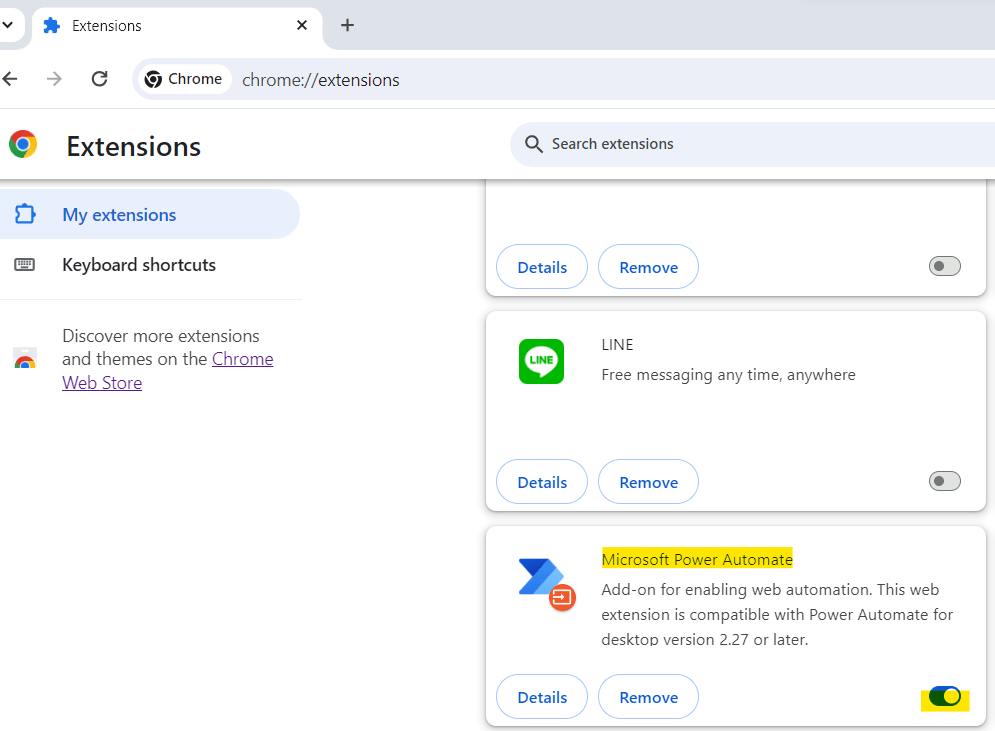
In the case that our browser has many versions of extensions, remove them and leave only one.
5. Go back and look at the Manage Extensions page to see that the extensions have been successfully installed and open the Extensions toggle as shown in the picture.
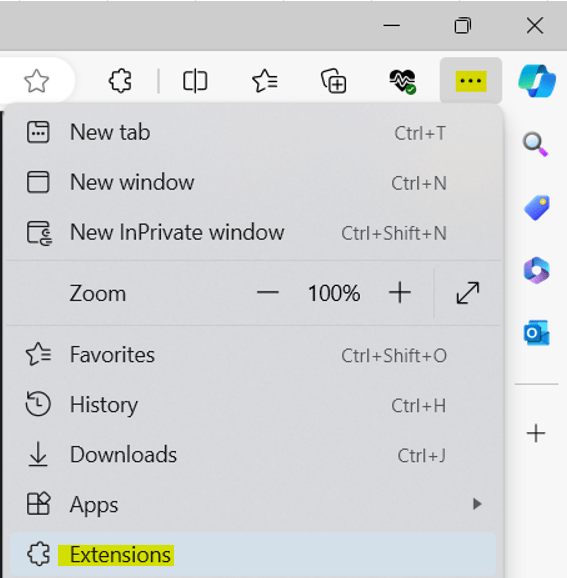
How to install Extensions on Microsoft Edge
- Go to 3 dots > Extensions (or press jigsaw icon), then press Manage Extensions

2. Click “Get extensions for Microsoft Edge”

3. In the Search bar, type Power Automate and then look at the ones created by Microsoft Corporation. It will explain which ones work with which version of Power Automate Desktop. Click to read the details before install it.
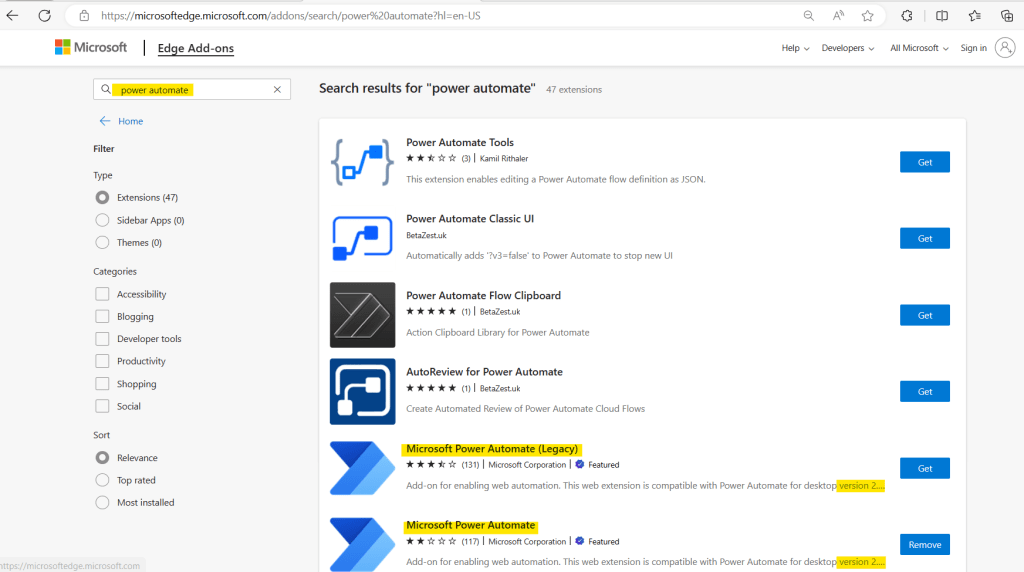
4. Select the Extensions that are appropriate for the version of Power Automate Desktop that you installed and press the “Get” button (for those who have already installed it, it will be show as “Remove”, so you don’t have to press it).

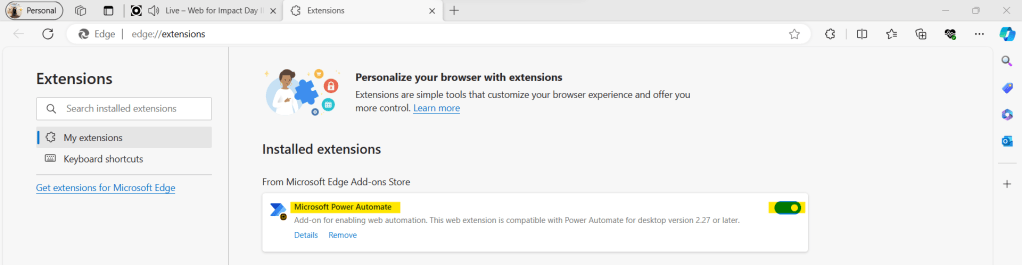
5. Go back to Manage Extensions and see that the extensions are installed and the toggle is turned on.
6. Click on Extensions and then click on Show in toolbar.


Leave a comment